
Sprinkler Services
Sprinkler Design Services
Design Strategies
We start the process with a precise measurement of your lawn. We then visit with you to learn about your flower beds, trouble spots and future landscaping plans. Once we are finished, we will put together a proposal that will include a design. The design will show the number of heads, approximate location of these heads, water service location and controller location. Your proposal will be custom designed for your property. You will also receive literature that will help you understand the operation of your system. Once the sprinkler system is installed we will show you how to operate your system.
Every new system we install will receive an “As-Built” included at no additional charge. The As-Built is a design drawing with all of the pipes, valve boxes and heads in a map of the system as it was built.
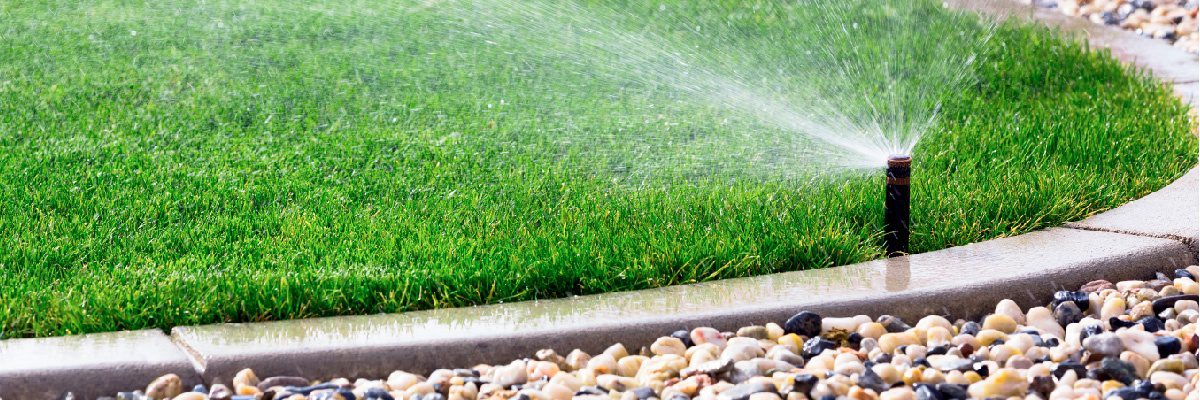
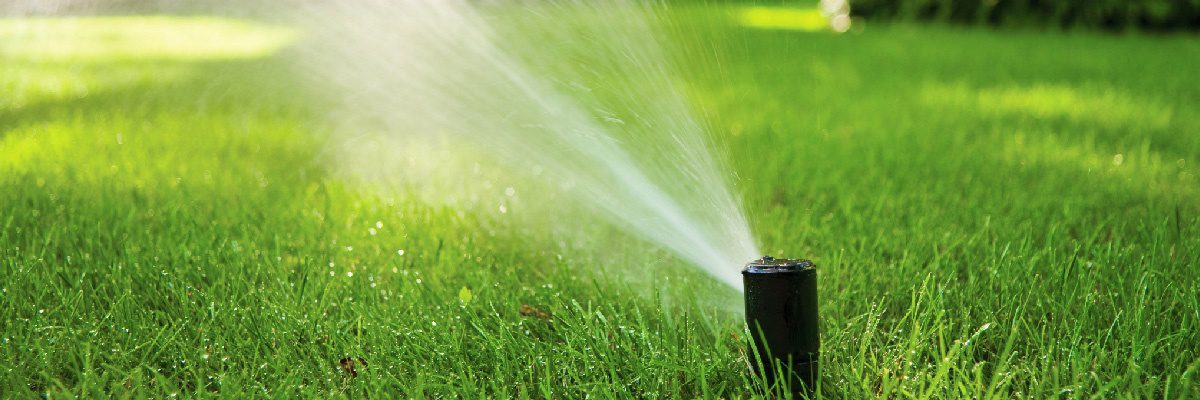
Some systems over water in some areas and under water in others. All sprinkler systems designed by us, employ the “balanced precipitation” concept using head-to-head coverage. In order to achieve consistent water coverage, each head must spray far enough to reach the next head. We install all of our sprinkler systems with this concept so that all parts of your lawn will be watered evenly.
Sprinkler Installation
Installation
We only use the highest quality products, with Rain Bird being our brand of choice.
- We will install the pipe 8” to 12” under the soil.
- The heads and valve boxes are installed flush with the top of the soil.
- We use water tight connectors for all 24 volt outdoor connections.
- King Automatic Drains are used to prevent damage caused by freezing temperatures.
- Clean and neat installation on every project.
- We follow all local, state and national plumbing codes. We will install an approved back flow prevention device required by the city water departments. The backflow device is designed and installed for your sprinkler system to prevent the siphon of water in the pipes throughout your yard and protects you and the city water supply. This device, when installed properly, will prevent contaminants in your yard such as pesticides, herbicides, and animal feces from entering your drinking water.
- We use only the highest quality glue and primers as well as stainless steel clamps to assure that you get the best seal possible. With proper maintenance, your system will operate worry-free for years.
- We will install your sprinkler system in a timely fashion. In most cases, installations are completed the same day.
- We will show you how to operate and maintain your system upon completion of the installation.
- After all of the sprinklers have been installed, we inspect and adjust each of the heads to cover their perspective areas.
Clean-up
Most residential sprinkler systems are completed in the same day, but there may be exceptions. All turf that is dug up is placed back like it was and tamped flat. In areas that the grass was thin or beyond repair, we will sow grass seed in to fix your lawn. In most cases, there should be little or no evidence of work done to your property after two weeks. All sidewalks and driveways are swept off, or washed off before we leave. We pride ourselves in our clean-up, service and workmanship.

Sprinkler Maintenance Services
Irrigation Services
- Seasonal Start Up
- Blow Out
- Winterization
- Drip Irrigation
- Consultation/Design
- Irrigation System Monitoring
- Mid-Season Inspections and Extended Warranties
- Water Conservation and Management Practices
- Irrigation Water Audits
Do it yourself startup Procedures
START-UP INSTRUCTIONS
We can’t specifically address the needs of every system, but these are some basic instructions on how to start your sprinkler for the season:
1. Go outside to the valve box(es).
Open the lid(s) and CLOSE the drain(s) inside the box(es). Check for any other drains on the system, for example an above ground hose attachment or pool fill hoses. (NOTE: Not every system will have manual drains in the valve boxes, most newer systems have automatic drains – these are yellow, blue or clear.) After closing the drains turn off and close the valves and the bleeder screws for every valve.
2. Go to the vacuum breaker.
(The brass device on the side of your house)
The handles should have been left at a half way on half way off position for the winter (B). Turn the green handles so they shut the valves (B). Typically in the off position, the upper handle will be vertical and the lower horizontal, or going across the pipe. Next you will need a flat blade screwdriver to close the two test-cocks 1/4 turn on the vacuum breaker (A) so that they are also at a right angle to the direction of the pipe (meaning if the pipe is vertical you want the screw to be horizontal).
2.5 Lake Pump Procedure.
If you have a lake pump you will need to connect your inlet and outlet lines to the pump first. Once connected you will need to inspect the lakescreen to be sure there are no tears and that it is clean. Once inspected the lake screen should be secured to the dock below the water level but safely off the bottom of the lake. The next step is the most time consuming and that is to prime the pump. You must evacuate the air from the line coming from the lake and replace it with water by filling the line slowly with water. This process may be repeated several times before the pump is primed. We typically connect a garden hose to the hosebib that is on your pump to fill the line. Once it is full we will disconnect the garden hose and slowly open the hosebib with the pump on and drain out the air.
3. Go to the basement.
Find and close the drain valve. This is typically near the ball valve to turn on the system but not always. Sometimes this drain valve is outside under your backflow device on the pipe coming out of your house. SLOWLY turn on the water to the sprinkler system. If you have correctly closed the backflow, the water will fill up to that point and stop (If the water does not stop flowing within about 30 seconds shut the water back off inside and check the vacuum breaker for leaks). Once the water is on Return outside to the vacuum breaker and slowly turn the green handles starting with the lower green handle. As you turn the lower green handle, you may hear a popping sound as the air is released from the backflow, properly setting the backflow. After this turn the upper green handle so both are in line with the pipe – the lower green handle should be vertical, upper green handle should be horizontal. You should feel the water flowing through the backflow. The water will stop running when the pipes are full to the valves. If the water continues to flow through the backflow after the first few minutes, you need to check in the valve boxes for signs of water. Turn off the water, stop the leak (Frequently is it just a drain that has been left open in a valve box) and try again. You can double check to be sure the water is off by checking the sprinkler water meter and verifying that it has stopped flowing water.
4. Go to the controller (Also called a Timer).
Manually start the system, checking each head of each zone for proper operation, walk your yard and check for leaks. After insuring the system is operating properly set your controller to run as needed. Typically two or three days a week is adequate for early season watering.
Service Packages
Program 1: Includes spring startup (During the start-up service, water is turned on to the sprinkler system, the controller is reset if needed and sprinkler heads are adjusted to assure proper coverage.) Also includes fall winterization.
Program 2:Includes spring startup, mid-summer inspection and fall winterization.
Program 1 & 2 include all necessary labor to complete the above mentioned service you choose. If we find any sprinkler parts that need to be repaired/replaced, we will bill parts and labor separately. They are not part of the program service. Please note that spring startup and mid-summer inspection include checking all zones, cleaning lake screens (pump customers), adjusting the controller as needed, cleaning out nozzles as needed, etc.
For those of you who have lake pumps please check your lake screen bi-monthly or at least once a month for clogging and tears. This will prolong the life of your system and especially your pump.
++When you are ready to start your system for the season please give us a call. (For Lake Pump systems-dock must be in.)++